
My Homelab Setup
This is project is now somewhat stable but still a work-in-progress.
So I decided to migrate most of my remote VPS to a self-hosted private server. There are 3 reasons for this: 1. Cost savings. VPS SSD storage can get quite expensive as your storage demands increase. Meanwhile I have a few SSDs lying my house around not being utilized. 2. Learning experience. There are many parts of the self-hosting stack that I'm not familiar with, and I am hoping to get more familiar with them as part of this exercise. 3. I want to be able to be to reproduce all of the tooling I use, as quickly as possible in a "doomsday" scenario, so I need it automated.
My requirements are as follows:
| Status | Feature | Choice |
|---|---|---|
| n/a | ||
| :heavy_check_mark: | Syncing/Sharing files, calender, contacts, tasks etc. | Nextcloud |
| :heavy_check_mark: | Hosting misc. static websites | Nginx |
| :heavy_check_mark: | Media (pictures, tv, movies) Server | Plex or Jellyfin |
| :heavy_check_mark: | Meta Search Engine | Searxng |
| :heavy_check_mark: | Music Server | Navidrome |
| :heavy_check_mark: | Network accessible storage for media | Samba |
| :heavy_check_mark: | Password Hosting/Share | Bitwarden |
| :heavy_check_mark: | VPN | Wireguard |
| :heavy_check_mark: | Torrents | Transmission |
| :heavy_check_mark: | Photo sharing | Photoprism |
| :heavy_check_mark: | Media downloader | Sonarr, Radarr, Prowlarr |
Consider items marked as :heavy_check_mark: above to be implemented in this repo. You may notice more roles than listed here. This is due to me trying other options for that feature, eg. "seafile" for file hosting. Feel free to use that instead.
Ideally, I would also like to be space efficient as I currently don't have space for a proper server-rack. I don't want it to make a lot of (any?) noise. I don't want it to have much of an impact on my utility (power) bill, which of course also implies that it should not generate so much heat that it requires advanced cooling.
Architecture
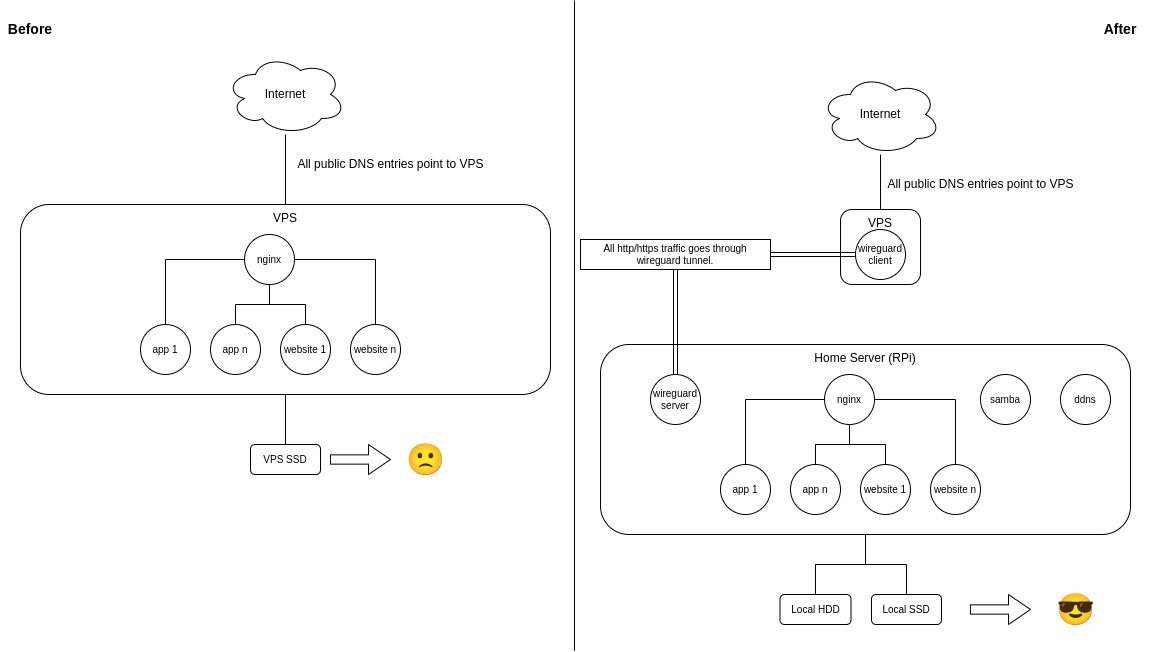
Notice that this setup requires a very small VPS since we are just running a wireguard client on it. All storage, and compute is being done by the Home Server. This means that my cost went from ~ $13/mo to ~ $1/mo for the VPS service, while increasing my SSD storage capacity from 50GB to 2TB (or whatever you have lying around)! And this does not incude the cost savings from self-hosting many of these services in the first place.
Tradeoffs
- I haven't factored in the cost of the hardware I'm putting to use or the cost of future replacement hardware, or the utility (power) cost of running these locally.
- VPS service providers have certain uptime guarantees that factors into their end-user pricing, especially with extra storage. No such guarantees exist with this setup, but things can be done to get most of the way there (which has its own time/effort, and equipment costs).
- Maintenance of these self-hosted services. But the way I see it, having it automated allows me to 1. minimize the time/effort spent on maintenance, and 2. to potentially turn this into a profitable venture for a growing privacy-minded audience - which at ~$13/mo would be a lot less profitable.
There are many cheap VPS providers out there. I use Racknerd now. I have used Vultr previously. Both are good in-terms of technical support.
Pre-requisites
Equipment
The equipment I use reflect my current priorities and have changed since this project started and will continue to change in the future.
NAS Equipment
A ROCKPro64 4G model.
Alternatively, an RPi4 or similar would also work if you can get your hands on it.
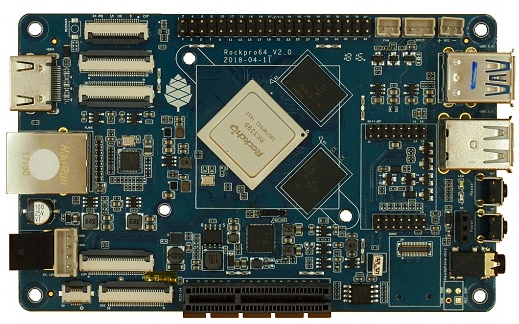
There are many reasons why this board is awesome: 1. In Stock. 2. Similar price/performance/energy usage as the RPi4. 3. PCIe slot!!
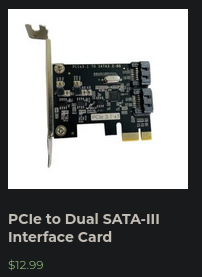
My main reason for switching to this board is the final point above :) Speaking of the PCIe slot, we can get a PCIe SATA adapter to connect to two SATA drives.
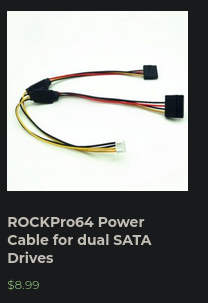
To power the drives, Pine64 all sells power cables:
The drives themselves are 4 TiB 3.5in 5400 RPM CMR such as:
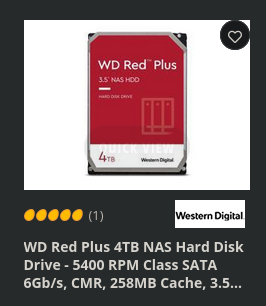
7200 RPM drives are more expensive and I won't be pushing this hard enough to notice the benefits.
Note there will be cheaper drives using SMR, but I'd recommend CMR is worth the extra cost.
Remember to buy drives that are not made as part of the same batch, so that the probability of them dying together is the lowest. You can also do this by buying different brands.
Also remember to buy an extra set so that you save yourself some panic during recovery.
When using the dual SATA adapter, Pine64 recommends a beefier 12V 5A power-supply:
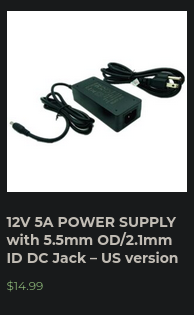
Since this is basically a NAS build, I opted to house all of this in:
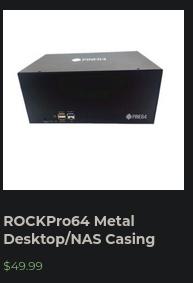
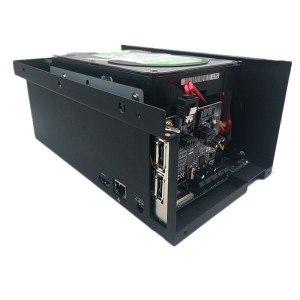
Which comes included with a fan, and the SATA power-cables.
Backup Equipment
An external USB SSD or HDD as a backup drive.
VPS
A VPS (Virtual Private Server) - I use Racknerd. This will give you access to a reliable static IP.
Base Image setup
Once you have a server+storage, and a VPS, you are ready to start. I have switched to using DietPi images (from Alpine) as they support my hardware, as well as RPis.
- Follow instructions from DietPi wiki to create a bootable SD card and boot up.
- On first boot, I recommend you change your
rootpassword, and change the SSH server to use OpenSSH (from Dropbear). This makes running automation against it easier. - Then you can run our playbook with the
basetag to install all pre-requisite software. See the Install section below for getting started with running playbooks from this repo. - You should then setup your drives according to your needs. If you are doing ZFS, the section below might be useful.
- Then see the Deploy section below to start deploying your apps!
NAS Setup
I recommend setting up the two drives as a ZFS mirrored pool. This will allow you to lose up to one drive at a time, and still operate in a degraded state while you replace it.
# Install zfs (the base role will do this for you if using a rockpro64)
# Otherwise there are usually two steps:
# 1. Install the kernel headers for your kernel.
# 2. Install the zfs-dkms, and zfsutils-linux packages.

# verify install
zfs --version

# assuming your first drive is /dev/sda
# get the ids -> /dev/sdX mapping of your disks by
ls -al /dev/disk/by-id/
# using ids is recommened because then zpool status will instantly tell you
# which disk in reality is problematic, rather than sda,sdb etc.
zpool create yourpool mirror /dev/disk/by-id/yourdisk1 /dev/disk/by-id/yourdisk2
zfs set mountpoint=/mnt/yourpool yourpool
# create datasets
zfs create yourpool/media
zfs create yourpool/data
# for encrypted datasets
zfs create -o encryption=on -o keylocation=prompt -o keyformat=passphrase yourpool/priv

# zfs useful cmds
zpool status -v yourpool
zpool scrub yourpool
zfs get mountpoint
zfs mount -l yourpool/data
zfs mount -l yourpool/media
zfs mount -l yourpool/priv # will prompt for passphrase
At the end of this, you should at least have /mnt/yourpool/media and /mnt/yourpool/data.
These will be auto mounted at boot.
These are the volumes assumed by our Ansible playbooks as vol_media, and vol_data - see the hosts file.
Monitoring
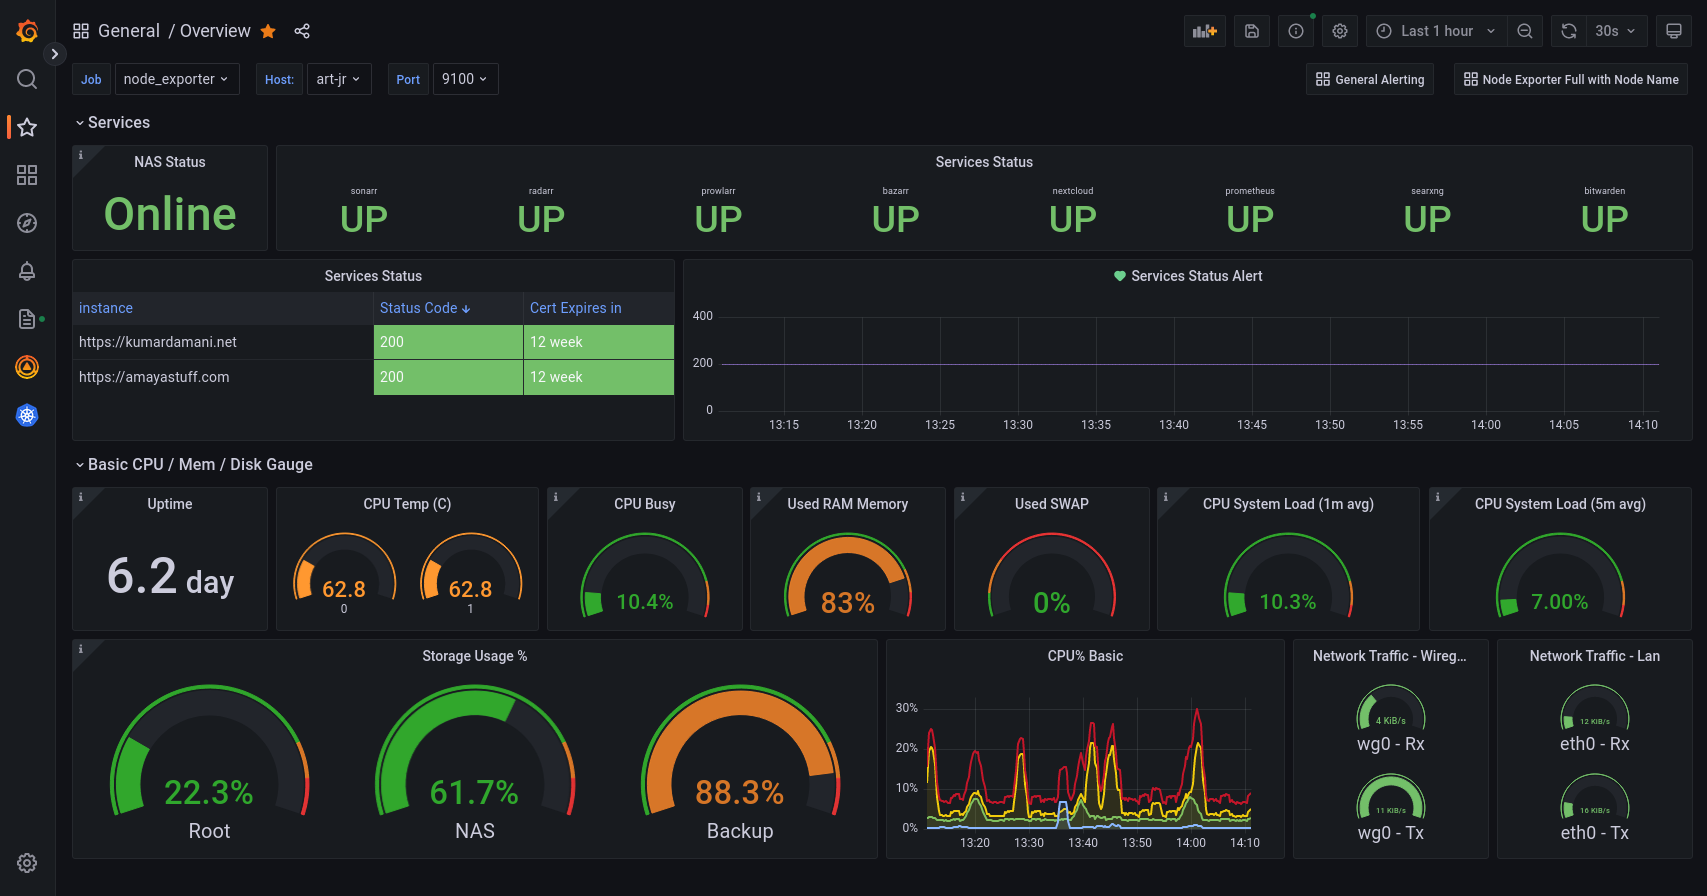
I'd like to monitor the following: - Basic cpu, mem, disk metrics. - Service level metrics with alerts when a service is down. - ZFS metrics. - CPU temp, Power consumption etc.
Install
- Fork this repo.
- Clone you fork with
git clone - Change directory to this repo
cd vps. - Setup repo by running all of the following:
# install dependencies for this project in a venv
make install
# remove my vault files
rm -f hosts.vault group_vars/all/vault
# copy all the example files
cp -a vaultid.example vaultid
cp -a hosts.example hosts
cp -a group_vars/all/vault.example group_vars/all/vault
Develop
- Set your vaultid value to your password. Default:
test. - Modify the playbooks per your needs.
- Modify the vault per your needs:
make vault-edit group=all. - Modify the hosts file per your needs.
- Modify the vars file per your needs.
Encrypt your hosts file, and secret vars before uploading to git:
ansible-vault encrypt --vault-id vaultid --output hosts.vault hosts
ansible-vault encrypt --vault-id vaultid --output group_vars/all/vault group_vars/all/vault
Deploy
# run main playbook with your apps
make file=playbooks/deploy.yaml tags="[tag list]"
# (and if applicable secondary playbook)
make file=playbooks/vps.yaml
Example CI/CD
For the sites that I host, I like to let the owners manage their own source-code on Gitlab, which gets auto deployed to my setup thanks to the website tag. This way I don't need to be involved for most day-to-day updates. Eg. .gitlab-ci.yml:
image: 'python:3-slim-buster'
before_script:
  - 'command -v ssh-agent >/dev/null || ( apt-get update -y && apt-get install openssh-client -y )'
  - eval $(ssh-agent -s)
  - echo "$SSH_PRIVATE_KEY" | tr -d '\r' | ssh-add -
  - mkdir -p ~/.ssh
  - chmod 700 ~/.ssh
  - '[[ -f /.dockerenv ]] && echo -e "Host *\n\tStrictHostKeyChecking no\n\n" >> ~/.ssh/config'
stages:
  - deploy
deploy-job:
  stage: deploy
  script:
    - apt update -y && apt install -y git make sshpass
    - echo "Deploying application..."
    - git clone --branch master --depth 1 https://gitlab.com/kdam0/vps.git
    - cd vps
    - echo $VAULT_PASS > vaultid
    - make install
    - make run file=playbooks/deploy.yaml tags="websites" args="-v"
    - echo "Application successfully deployed!"
You need to have the vars
VAULT_PASS, andSSH_PRIVATE_KEYset in the CI/CD settings for each such repo.
Example backup script
#!/bin/sh

doas mkdir -p /mnt/backup
doas chown -R 1000:1000 /mnt/backup

echo ""
echo "------Backup started------"
echo `date`
echo "--------------------------"
rsync -avph --delete --info=progress2 /mnt/kdpool/media/media /mnt/backup/
rsync -avph --delete --info=progress2 /mnt/kdpool/media/pics /mnt/backup/
rsync -avph --delete --info=progress2 /mnt/kdpool/media/music /mnt/backup/
echo "-------Backup ended-------"
Future Plans
- Pi Hole (in progress).
- Better docs for each role.
Why self-host?
You can read more about my thoughts on why we should self-host on my website. If this repo has helped you, consider sending a coffee my way!